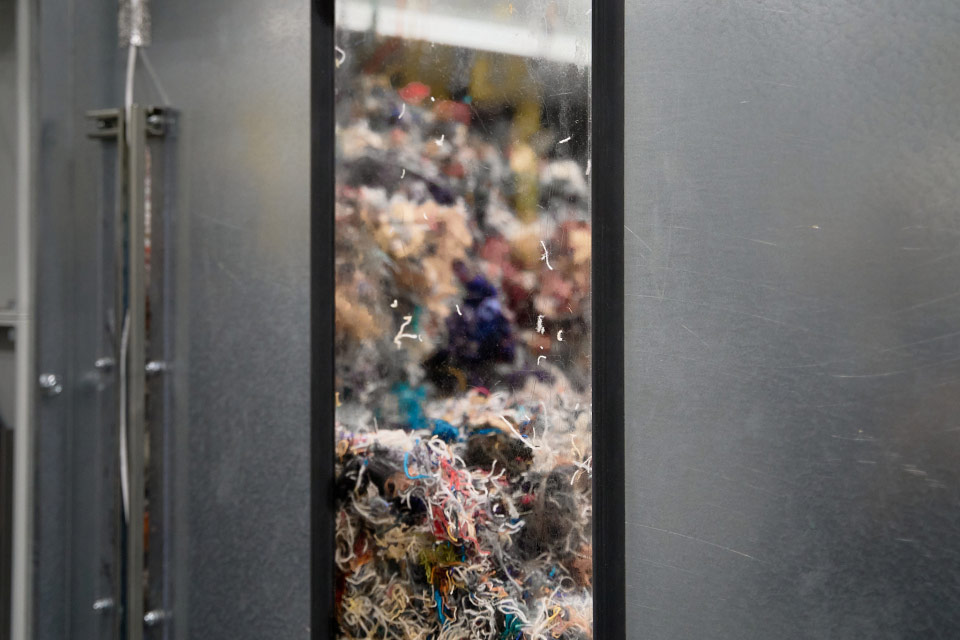
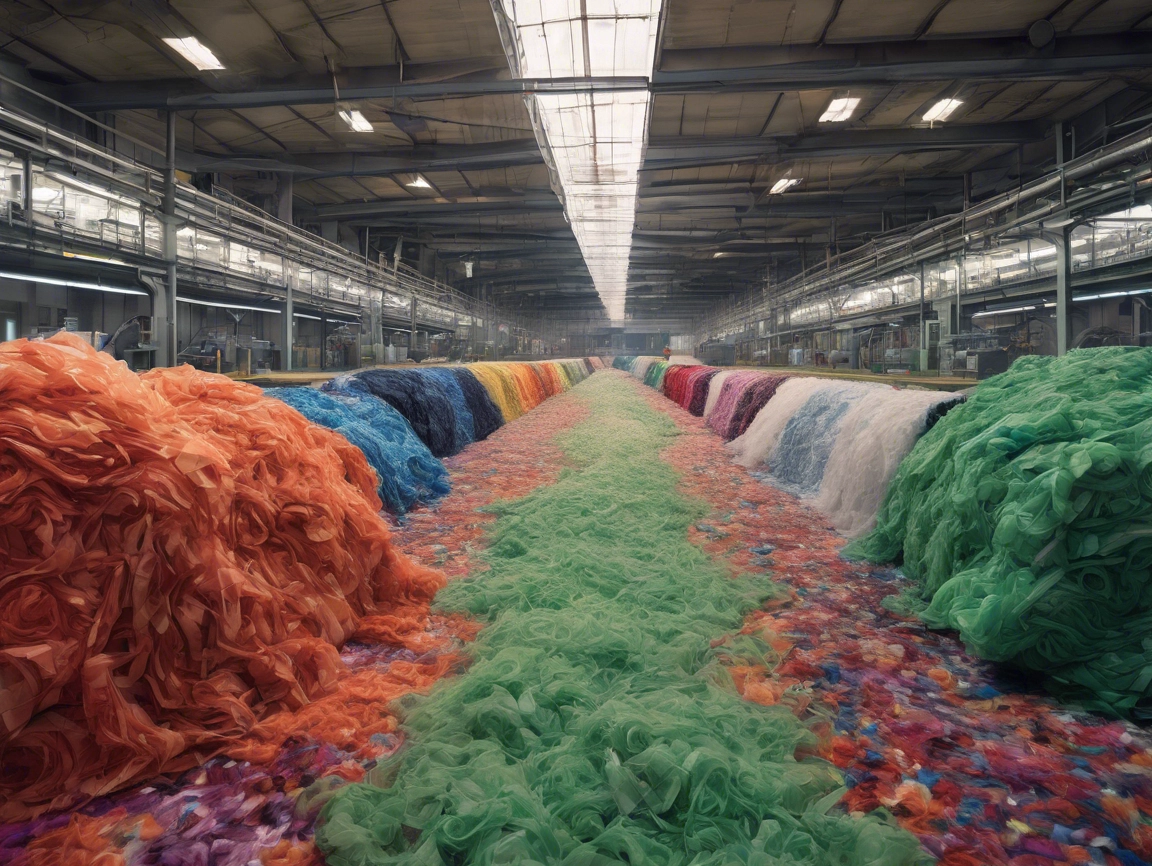
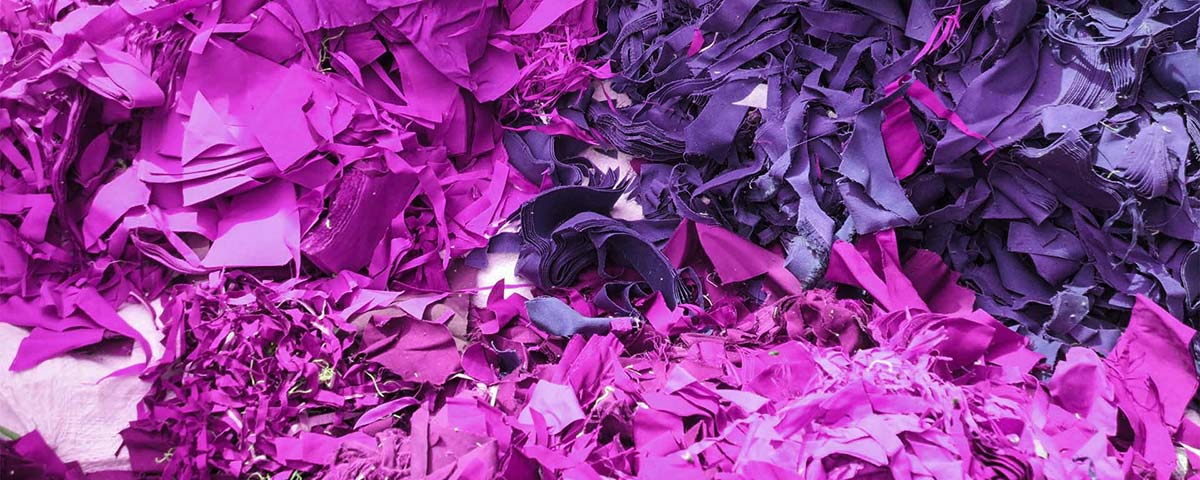
Textile waste isn’t waste—it’s an opportunity.
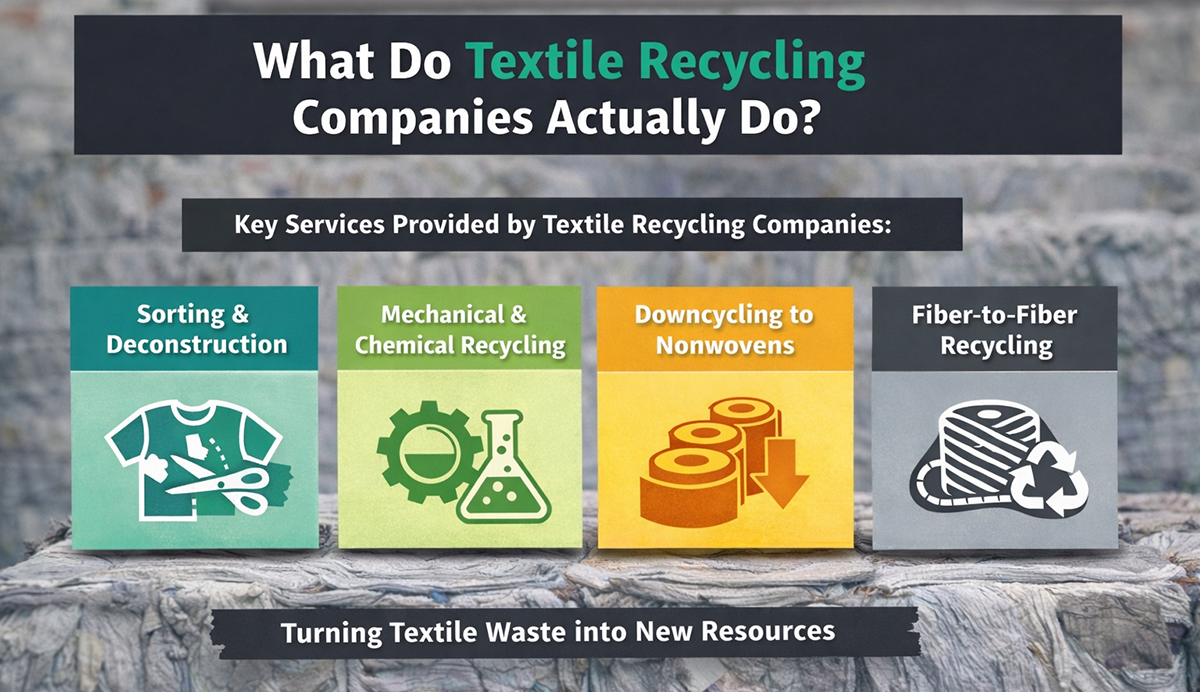
At Looptworks, our fiber-to-fiber recycling process keeps textiles in circulation, turning yesterday’s materials into tomorrow’s resources. From our work on the LA28 Olympics project (now in the design phase) to strategic downcycling that extends material life, we’re proving that circularity works—in business and for the planet.
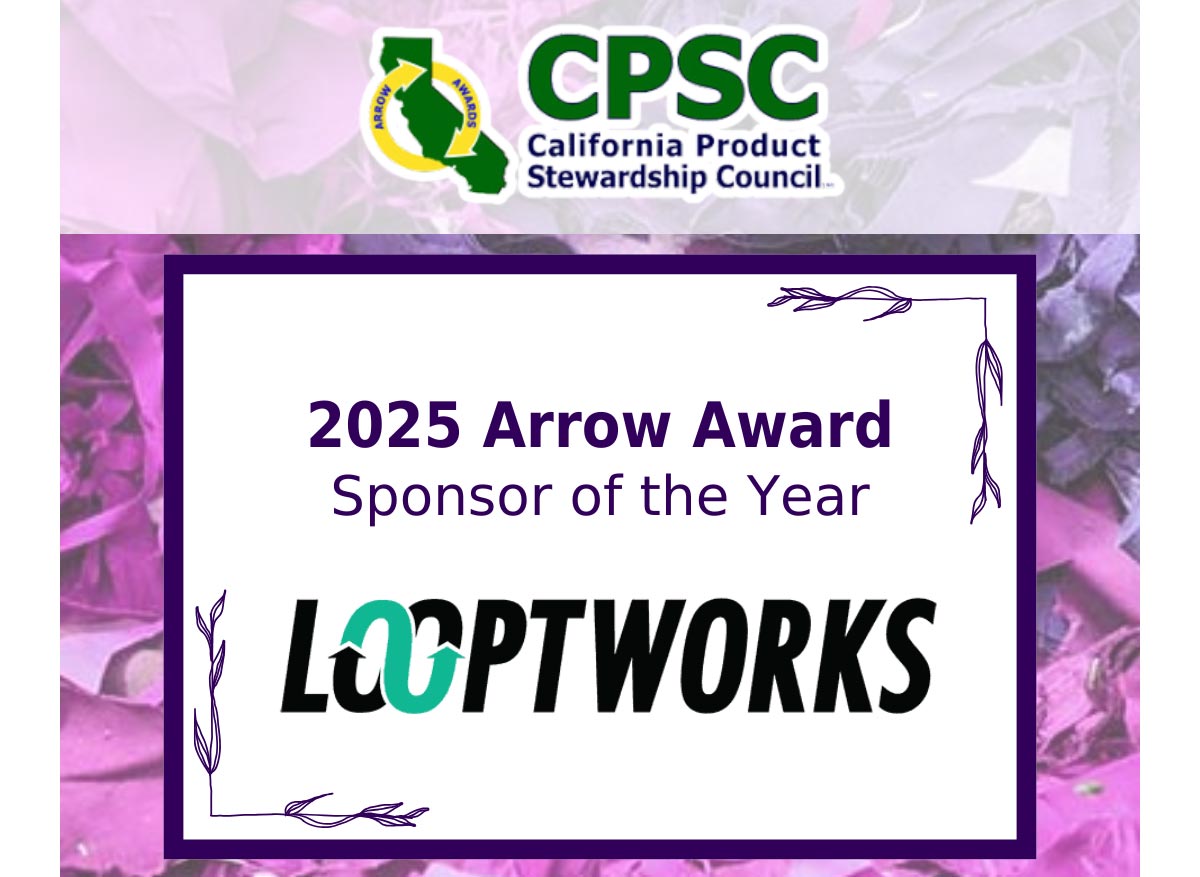
Recognition from the California Product Stewardship Council is a reminder that when waste becomes a resource, the possibilities are endless.